# 如何高效进行页面布局
# uniapp布局机制
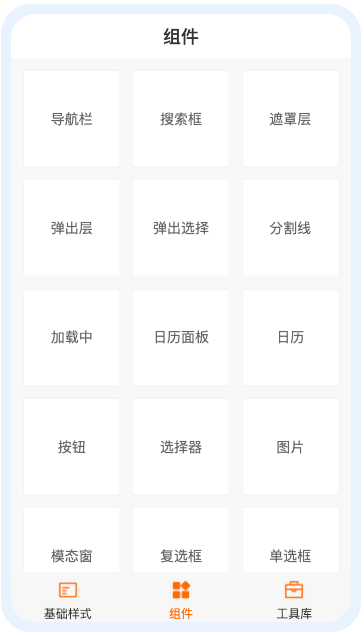
首先,我们先了解下uniapp的布局机制, uniapp中页面滚动方式分为两种 (opens new window)
page.json中页面的设置,可以禁止滚动

# 页面滚动

提示
优点:
- 页面原生滚动,性能最好
- 适合使用
pi-form表单提交的场景,部分表单组件,比如textarea,是通过原生组件实现,层级最高
缺点:
- 布局不够灵活,需要固定的组件需要使用fixed定位,同时需要placeholder撑开,否者会出现页面布局错位的情况
- page.json中,页面设置
disableScroll: false,允许页面滚动 - 页面容器使用样式:
pi-container - 如果需要导航栏,导航栏需要设置
fixed属性
页面布局方式代码如下:
<template>
  <view class="pi-container">
    <pi-navbar title="组件" fixed/>
    <view class="pi-content">
      内容区域,自动撑开
    </view>
  </view>
</template>
1
2
3
4
5
6
7
8
2
3
4
5
6
7
8
# 页面区域滚动推荐使用
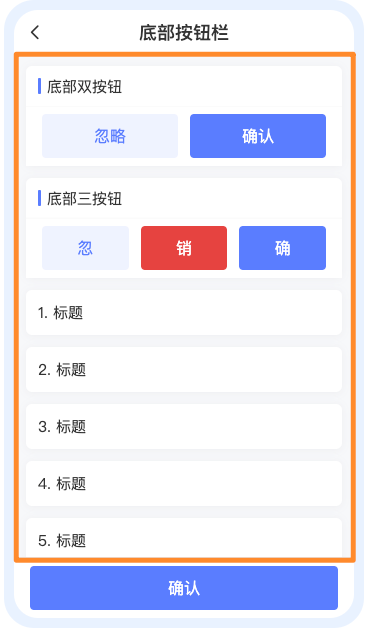
大多数场景,我们并不需要页面整体滚动,而是区域滚动,比如以下页面黄色区域滚动
- 标题栏固定
- 底部按钮固定

- page.json中,页面设置
disableScroll: true,禁止页面滚动 - 页面容器使用样式:
pi-scroll-container - 滚动区域使用
scroll-view, 并设置scroll-y属性,使用样式pi-scroll
页面布局方式代码如下:
<template>
  <view class="pi-scroll-container">
    <pi-navbar title="组件"/>
    <scroll-view scroll-y class="pi-scroll">
      滚动区域
    </scroll-view>
  </view>
</template>
1
2
3
4
5
6
7
8
2
3
4
5
6
7
8
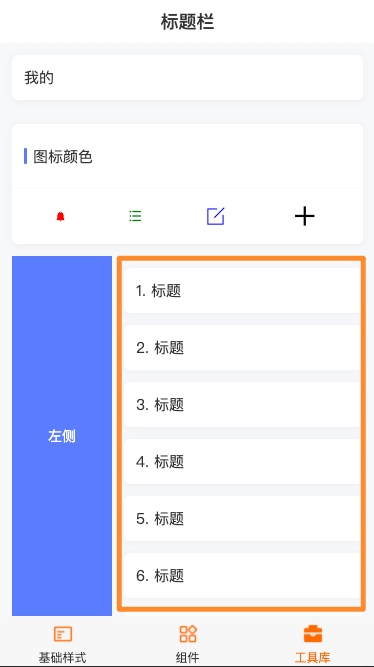
特殊页面区域滚动较为复杂,实现代码如下,实际上都是使用flexbox方式进行布局:

参考代码如下:
<template>
  <view class="pi-scroll-container">
    <pi-navbar>标题栏</pi-navbar>
    <pi-card title="我的" />
    <pi-card>
      <pi-section slot="title" title="图标颜色" />
      <template slot="body">
        <view class="pi-justify-around">
          <pi-icon name="message-copy" color="red" size="16" />
          <pi-icon name="bars" color="green" size="32" />
          <pi-icon name="edit-line" color="blue" size="48" />
          <pi-icon name="add" color="black" size="64" />
        </view>
      </template>
    </pi-card>
    <view class="pi-scroll pi-align-stretch pi-pd-left-24 pi-white ">
      <view style="width: 200rpx;" class="pi-flex-column-center pi-bg-primary ">左侧</view>
      <scroll-view scroll-y class="pi-scroll">
        <pi-card v-for="item in 99" :key="item" :title="item + '. 标题'">{{ item }}</pi-card>
      </scroll-view>
    </view>
  </view>
</template>
1
2
3
4
5
6
7
8
9
10
11
12
13
14
15
16
17
18
19
20
21
22
23
2
3
4
5
6
7
8
9
10
11
12
13
14
15
16
17
18
19
20
21
22
23
